Hosted Checkout
Click to Pay is offered exclusively through Dintero's hosted checkout. There is no SDK or custom integration — enable it in the Dintero backoffice and we handle the rest.
Click to Pay is only supported through Dintero's own PSP (dintero_psp.clicktopay). It is not available via other PSP providers.
Getting Started
Enable Click to Pay on Your Dintero Account
Click to Pay is enabled as part of your onboarding in the Dintero backoffice. If it is not already enabled, go to settings and payment methods, and enable Click to Pay. If you use payment profiles, ensure that Click to Pay is added to the relevant profiles.
No additional setup, contracts or SDK integration is required on your side.
Customer Email
For Click to Pay to be offered to a customer, the customer's email must be known during checkout. There are two ways to provide it:
- Use Checkout Express. The customer enters their email as part of the Express flow and Click to Pay is evaluated automatically.
- Include the customer's email when creating the session (
order.billing_address.email/customer.email). The email is then used to look up the customer with Click to Pay.
If neither is available, the regular card form is shown without Click to Pay.
Customer Enrollment
Click to Pay is only shown to customers who are enrolled with Click to Pay. Enrollment is done by the cardholder with their card issuer or through one of the Click to Pay participating sites. Cardholders can't add new cards via Dintero's solution. If the customer's email is not recognized by Click to Pay, the regular card form is shown.
How it looks in the checkout
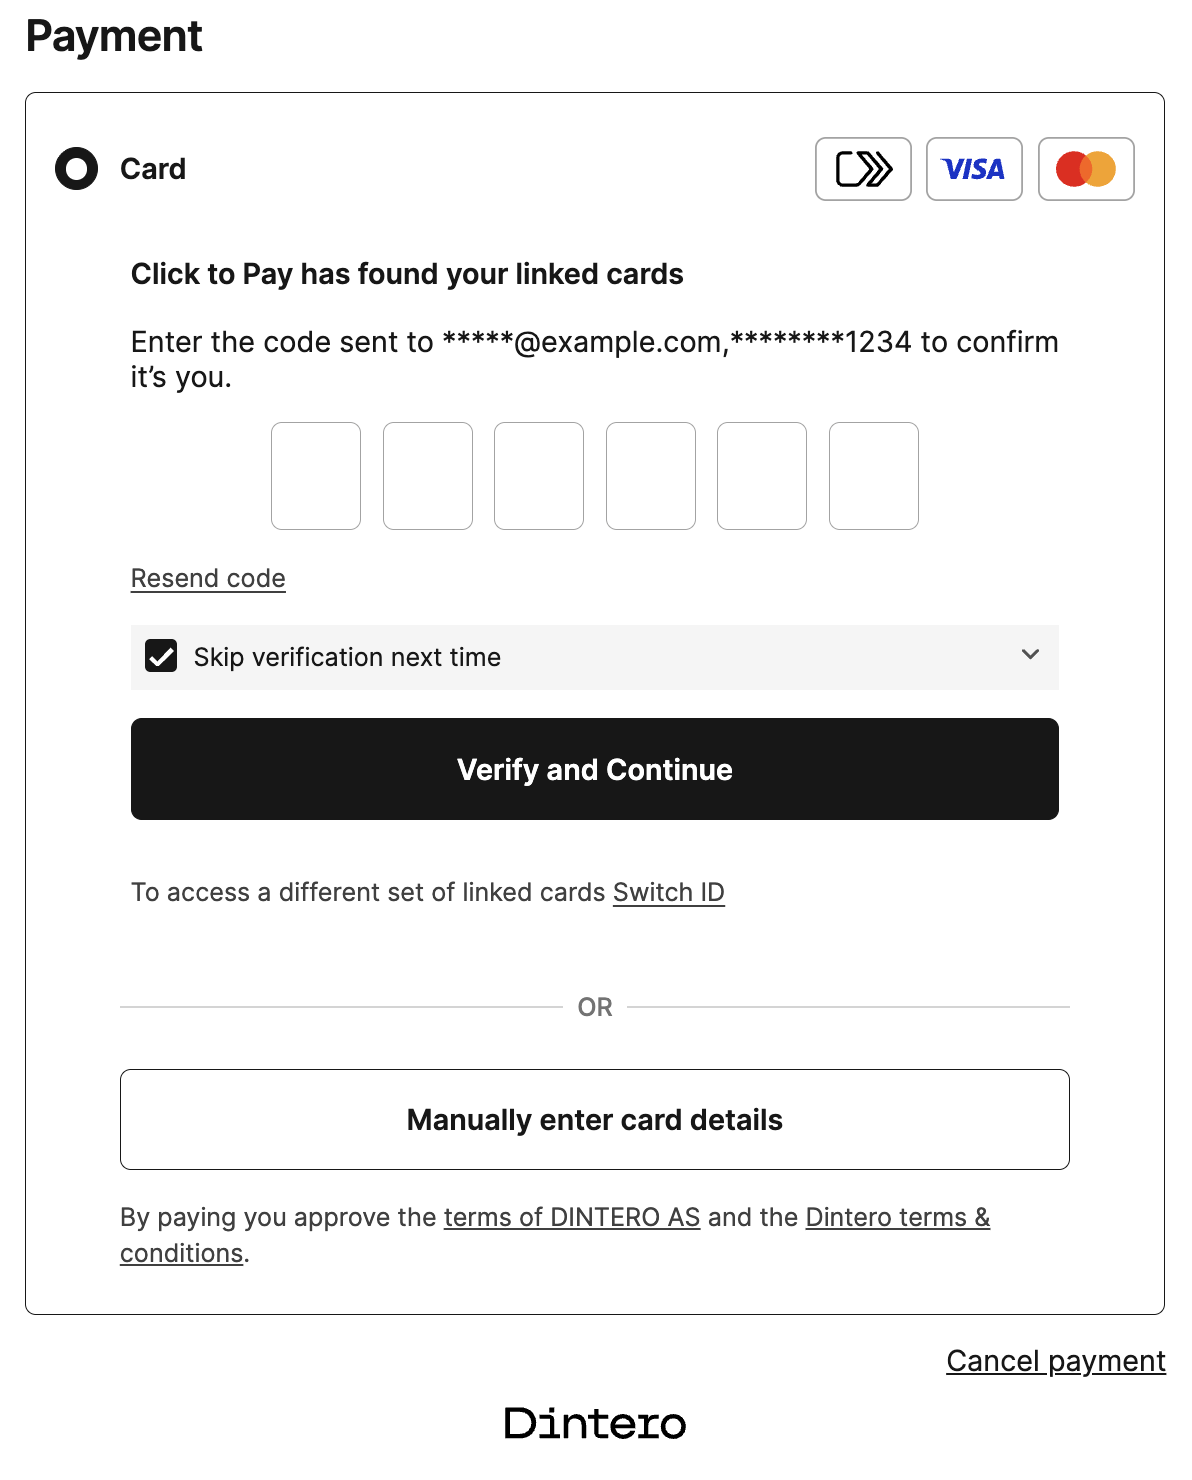
When Click to Pay is enabled it is shown as part of the regular card form. When we have the customer's email and the customer is enrolled, we show Click to Pay with an option to enter card details manually.
If the customer has chosen to be remembered we show their cards, otherwise the customer needs to authenticate using an OTP.
Authentication
Authentication is handled by Click to Pay. If the customer is enrolled they get an OTP via email and/or SMS. If they choose to be remembered they will not have to authenticate the next time.
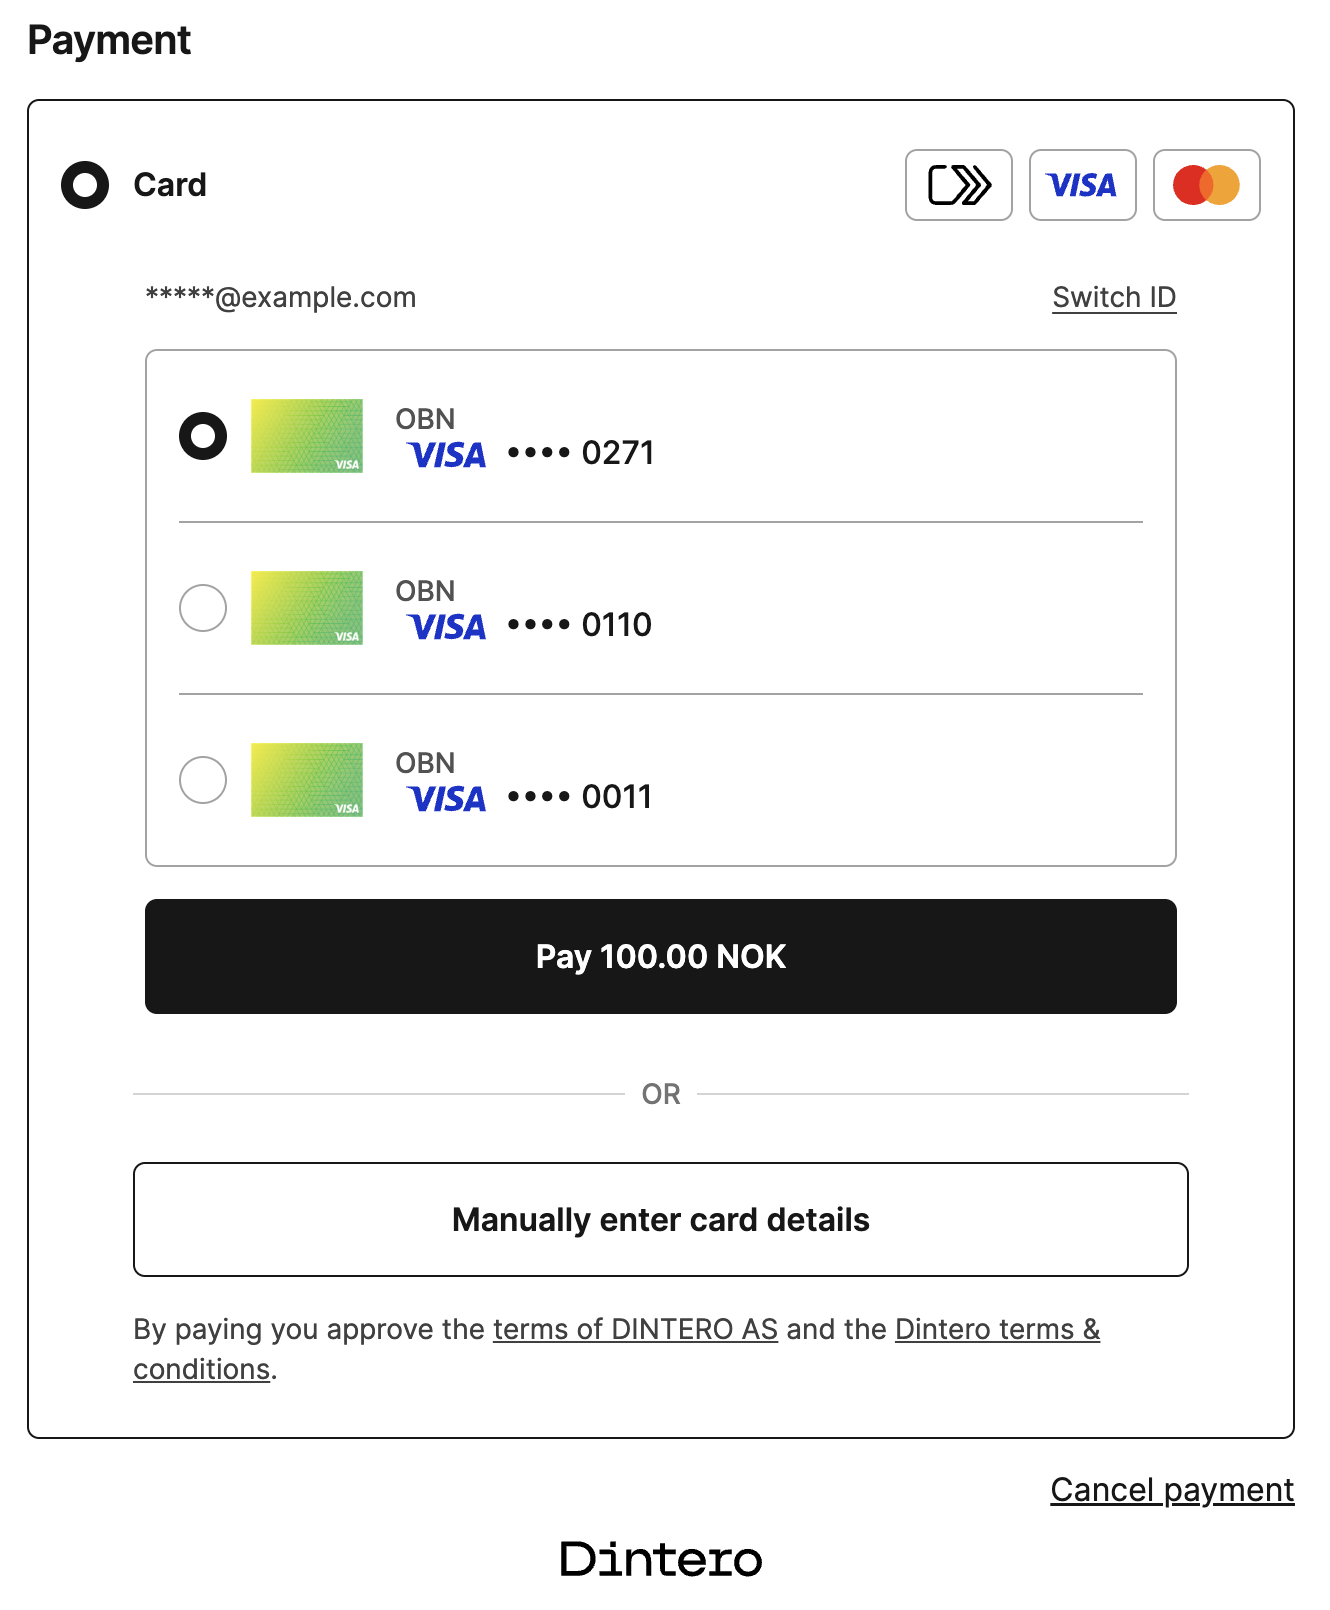
Selecting a card
Once the customer has authenticated they are shown a list of their enrolled cards. They can switch to another user, enter card data manually, or choose one of the stored cards to pay with.
Authentication and 3-D Secure
Depending on the card and the transaction, Click to Pay payments may be authenticated by the card network using a cryptogram that is already verified, or may require a 3-D Secure challenge. Click to Pay handles this for you, including determining when 3-D Secure is required and running the challenge flow.
Testing
Sandbox Environment
If you enable test mode and create a payment where you can use Click to Pay, we will give you some test cards that can be used to test Click to Pay behavior. The test payments will not charge any cards.
Production Testing
When you are ready to test in production, you can enable Click to Pay for your production environment. These payments will actually charge the card, so you should test with a small amount and be prepared to cancel or refund the transaction after testing.
To avoid exposing Click to Pay to customers while testing, you can use a payment profile that includes Click to Pay, and only use this profile for your testing purposes.