


Onboarding your merchants from Backoffice
Once again, go to Settings → Sellers. Here, you will find a new button Add new Seller .- Fill out preliminary info about your merchant.
- Company
- Individual
When onboarding a company you will need to provide the country, organization number, currency and seller id.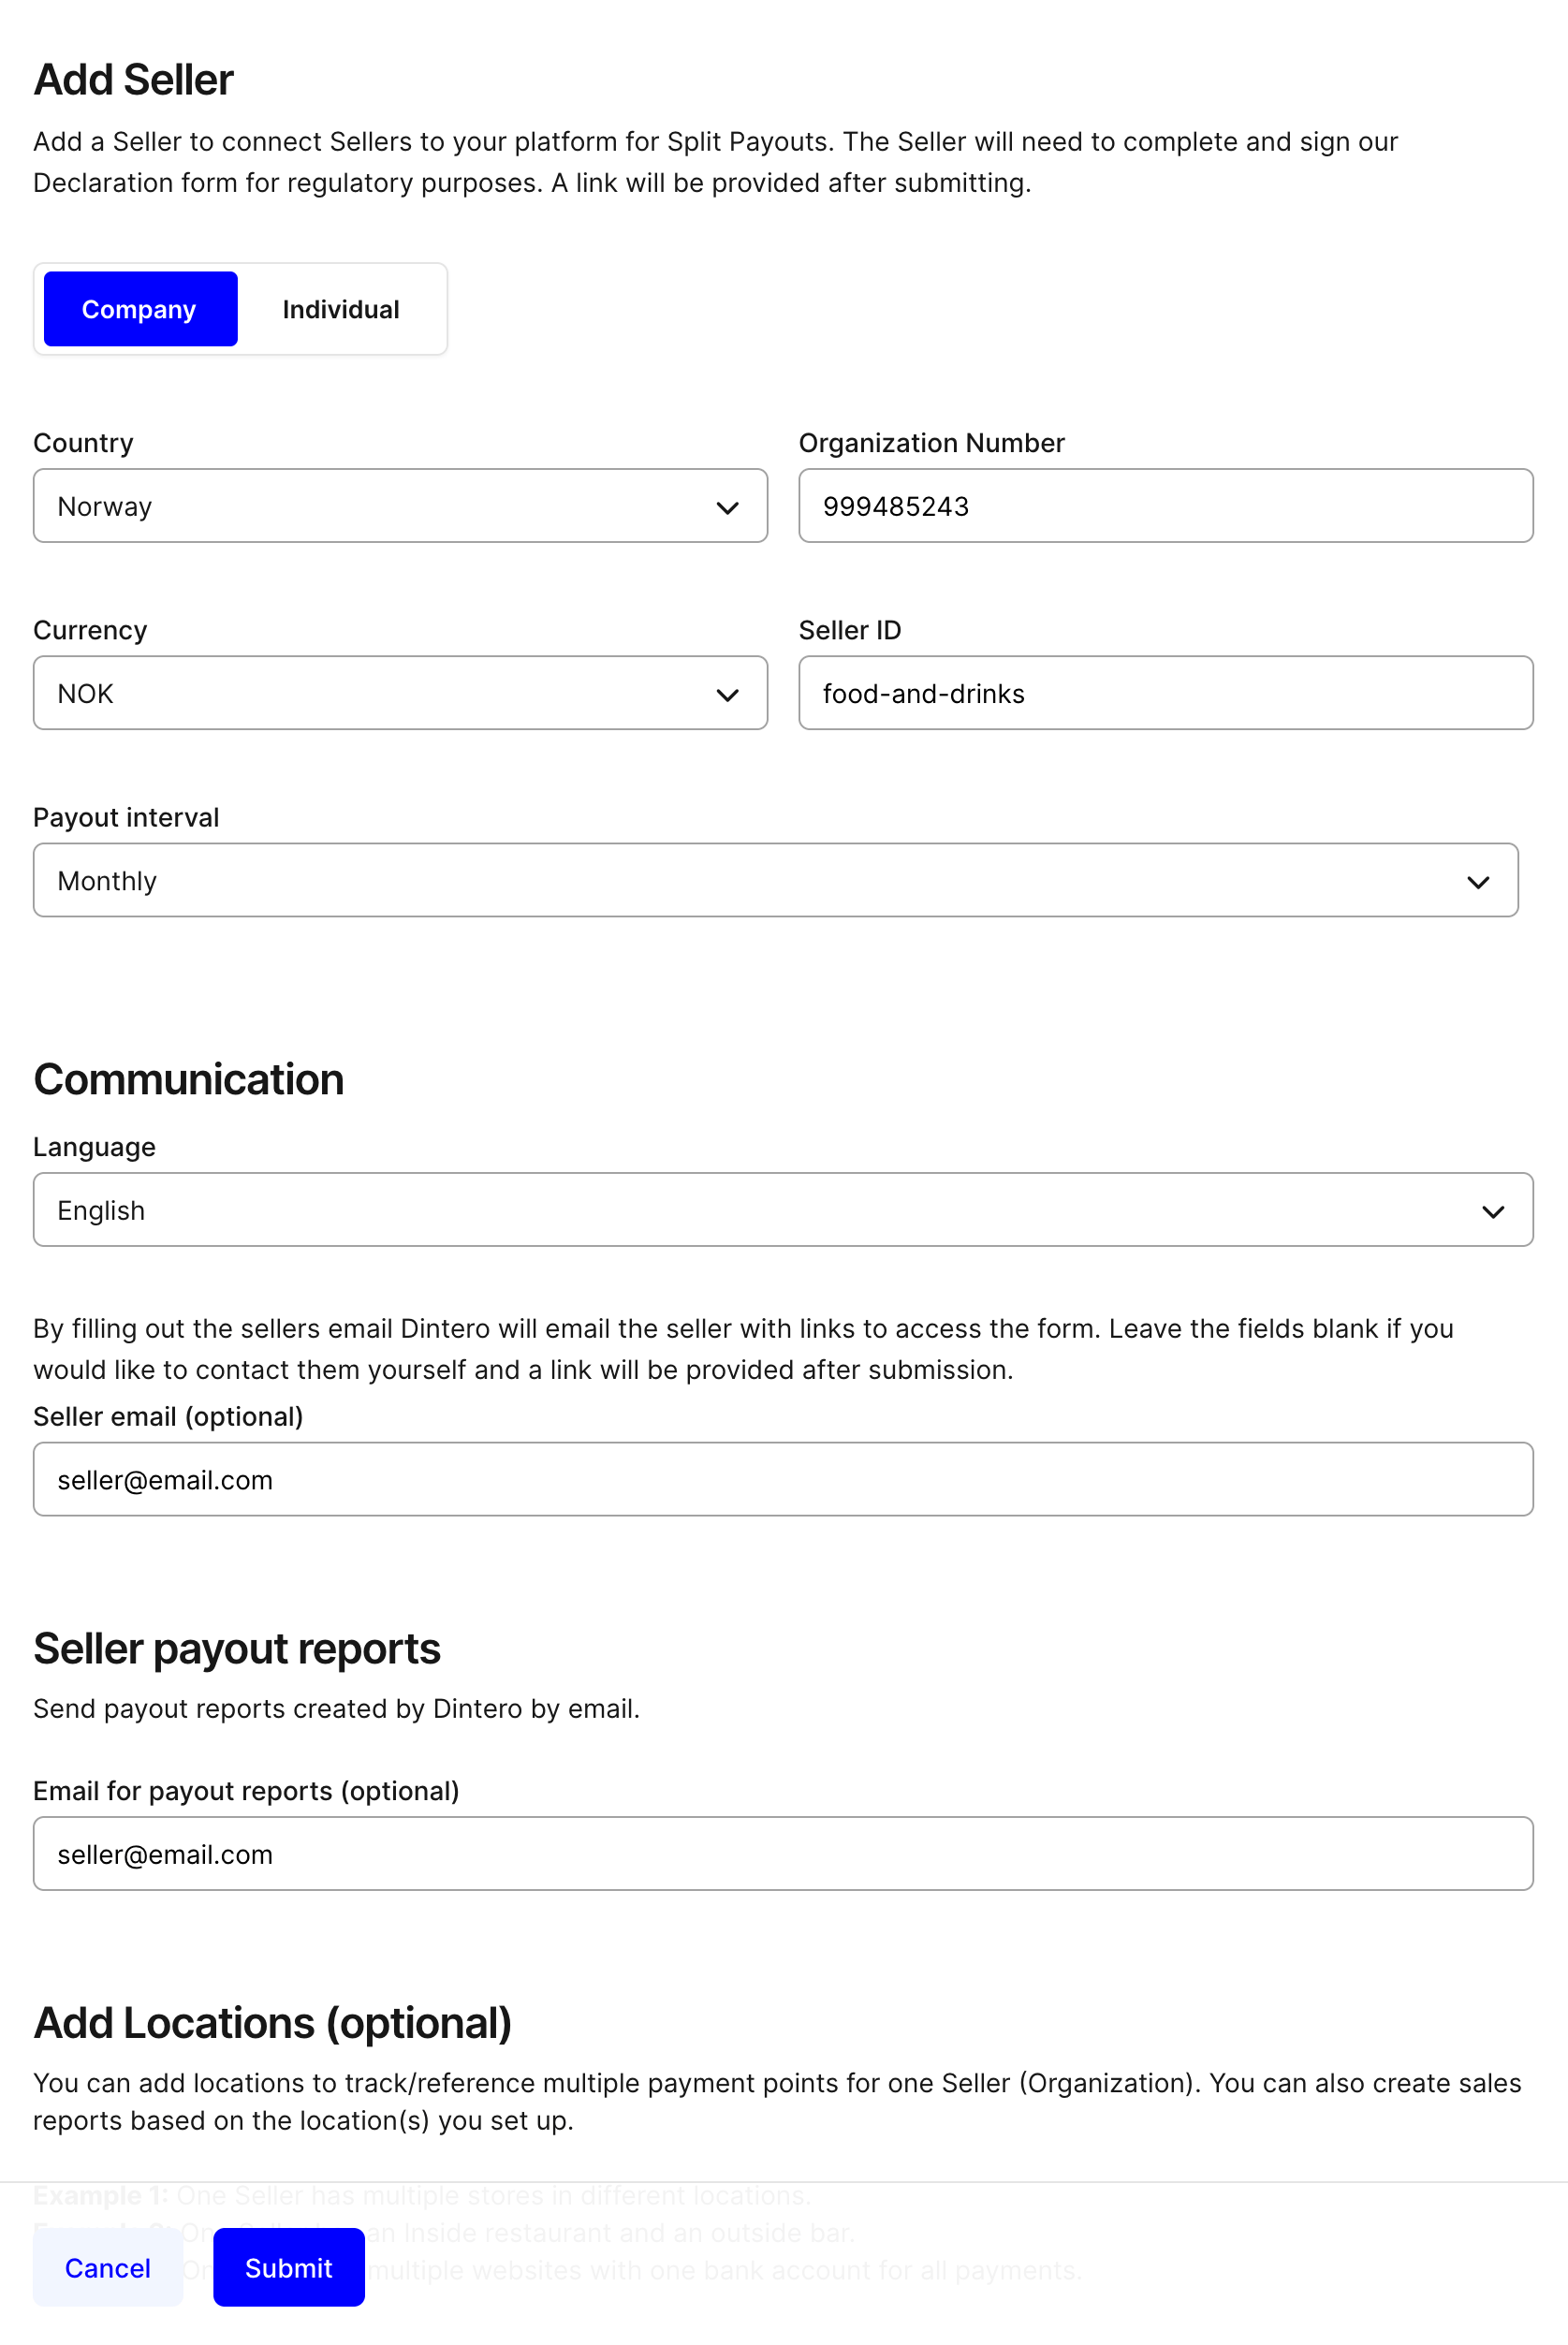
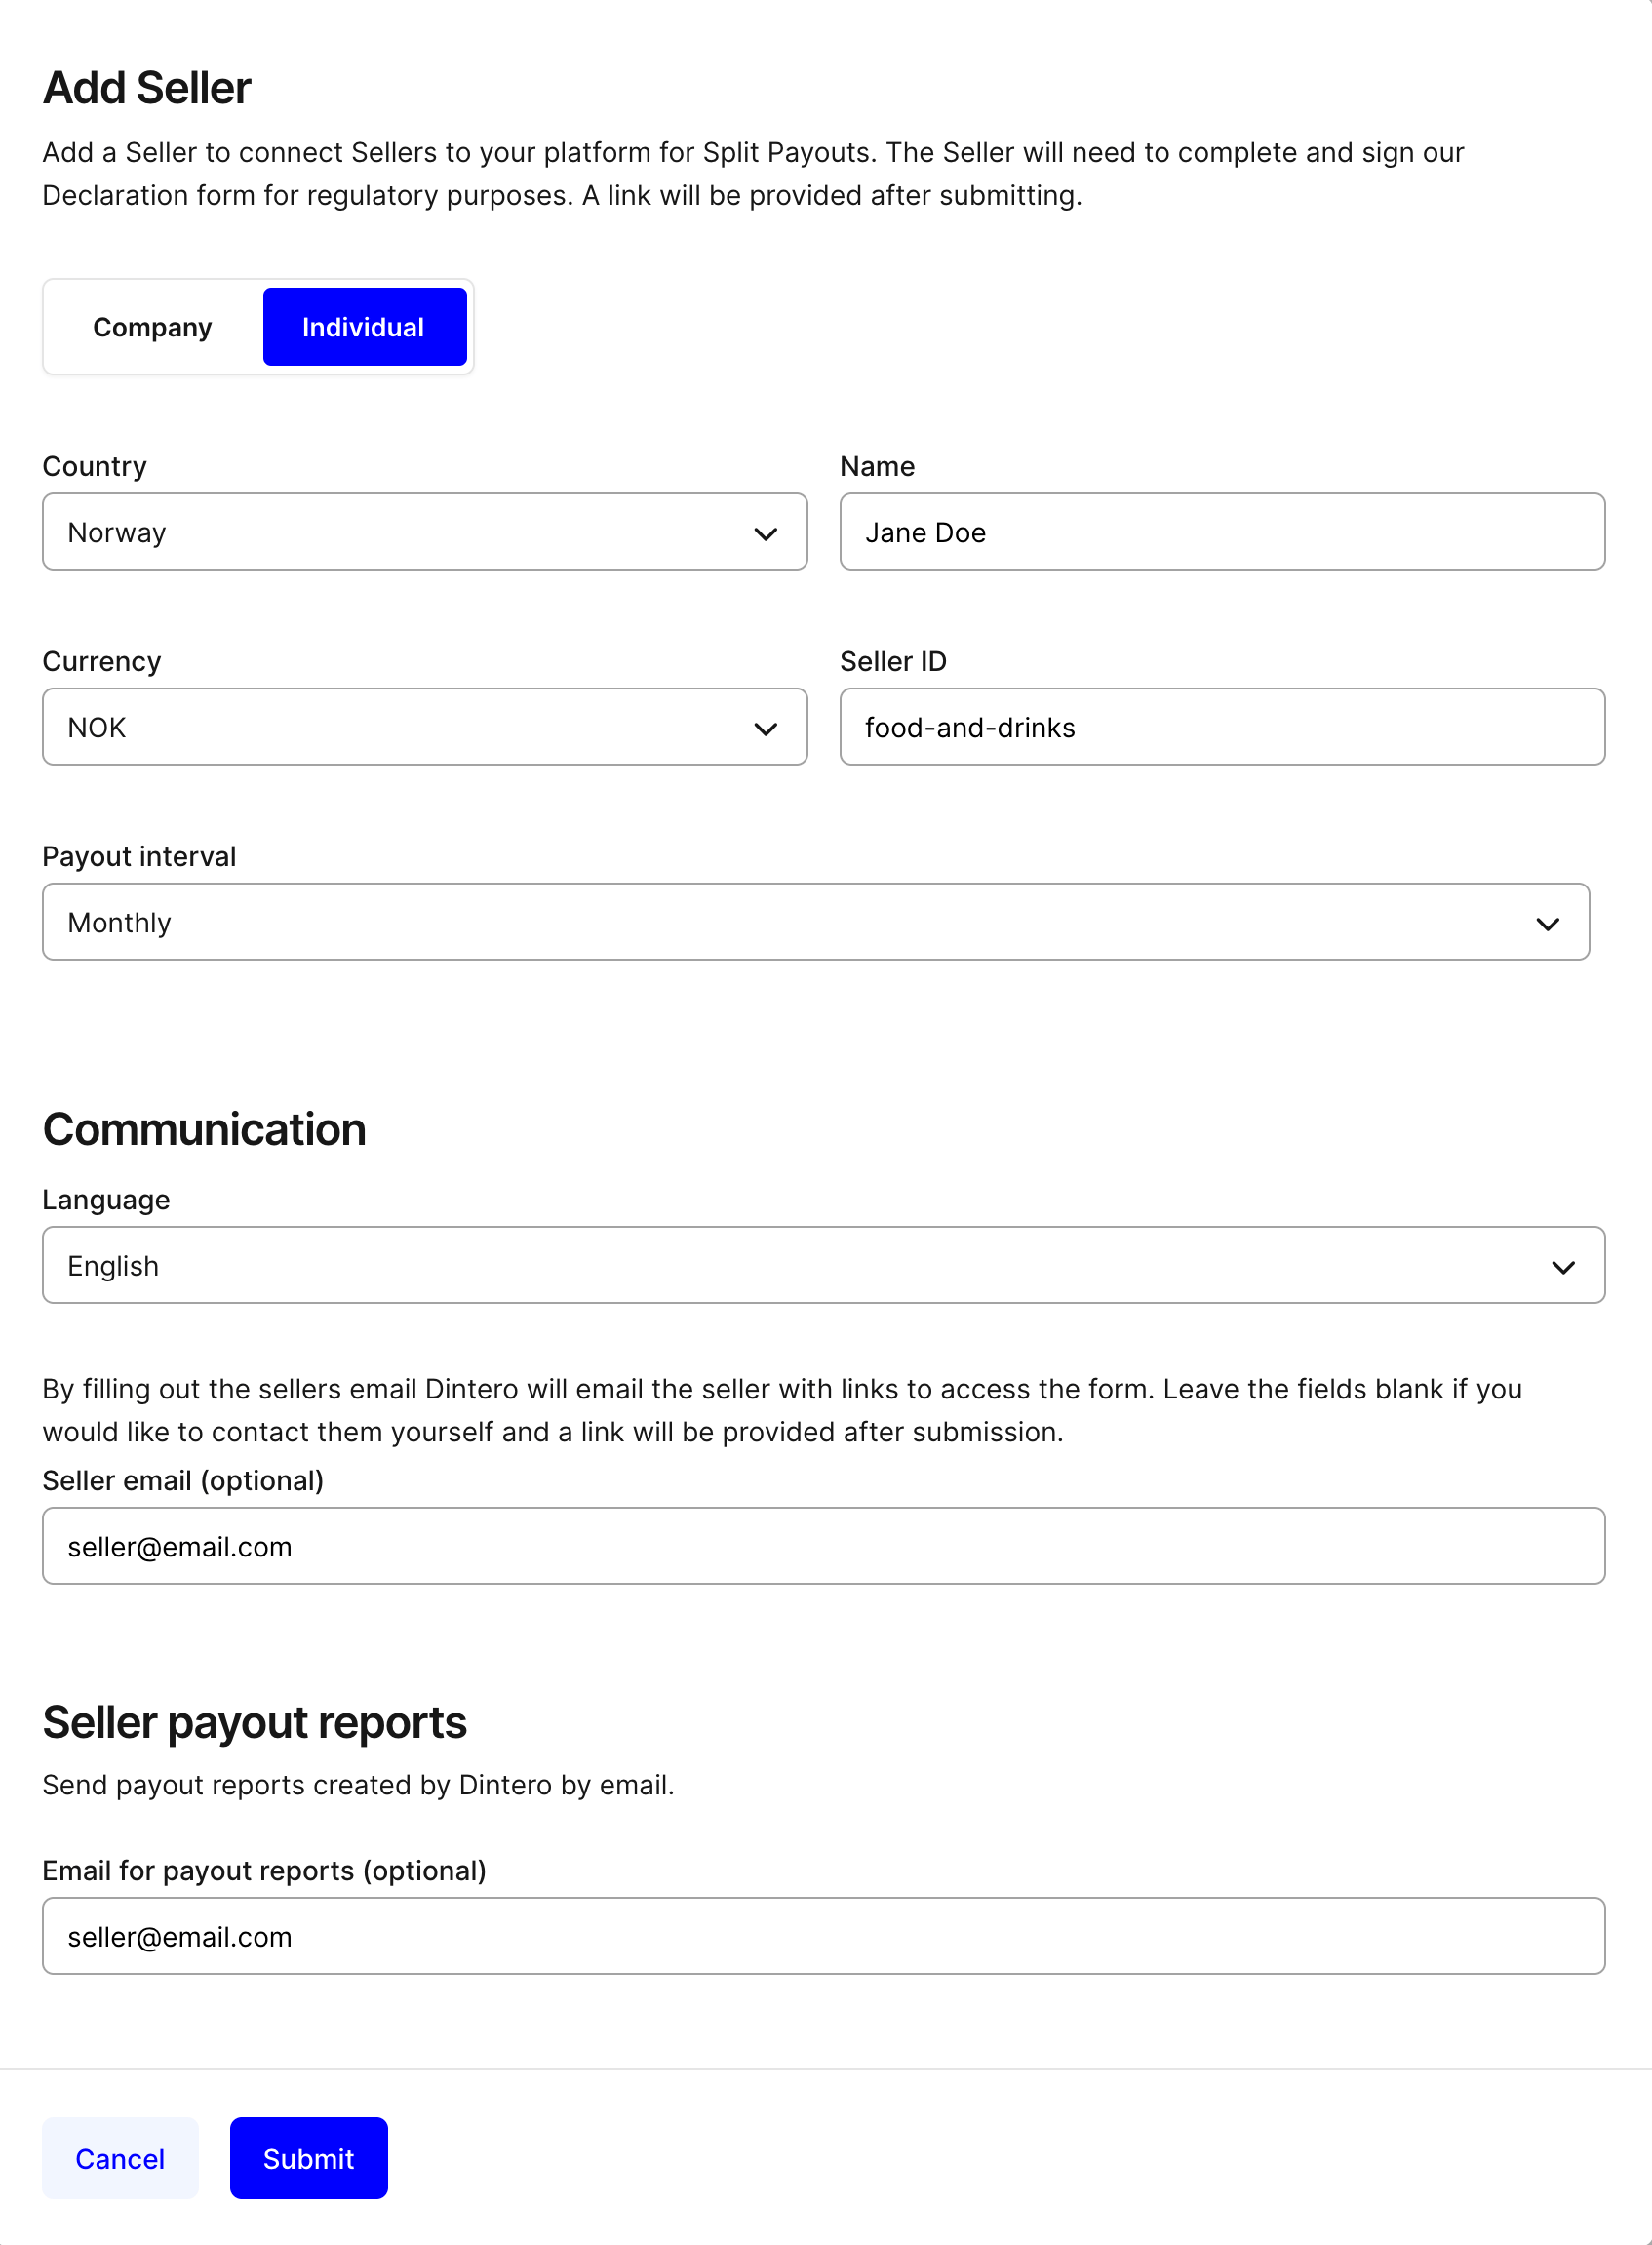
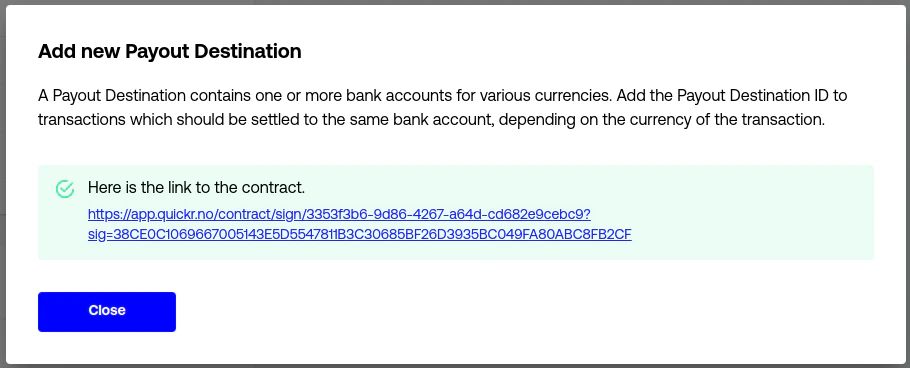
- Once filled out, press Continue and you will get a link to send to your merchant.
Onboarding your merchants through the API
- Fill out preliminary info about your merchant.
- Receive a link to send to your merchant.
rel=contract_url.
Handing over to your merchant
Now, take this link and send it to your merchant. This link will take your merchant to a similar KYC form to yours. If aform_submitter email was provided when creating the approval, the merchant will be notified via email.
Reminder emails
If the form is not completed (unsigned or undeclared), reminder emails are automatically sent on the following schedule:- 24 hours after the initial notification
- 2 days after
- 1 week after
- 2 weeks after
- 4 weeks after
Seller approval
To know when the Seller is approved, you can create a webhook from Settings → Webhooks → Add webhook and choose approval_payout_destination_update.See webhooks approval_payout_destination_update for
example of data that will be sent to the webhook
case_status=ACTIVE.
You can also poll the
endpoint List seller approvals
to see when the destinations are approved.
Once the seller is approved, you can start creating sessions with splits.
You can technically create sessions with splits before the sellers being approved, but there is no guarantee that they will be approved.In the case that an unknown or unapproved seller is used, the plattform merchant will have to deal with the matter manually.